

If you have decided that you like RC trucks but are still a bit unsure this article will help to unravel what you do and do not get in a kit. Your first question is probably "What will it cost" , the answer is from £350 upwards for the kit, the sky is the limit depending on upgrades! The second question is maybe "What do I get for my money?" This article is to help with that question.
This article is based on the Tamiya Scania 770 S kit which is a 6x4 tractor unit kit. The 6x4 just means that it has three axle with 6 ends, 4 of which are driven. Some kits have less than this kit (e.g. a 4x2 tractor unit) and some have more (e.g. 8 axle tipper or recovery truck).
Here is the kit box, Its big around 700 x 420 x 180 mm. most kits come in a similar size box.
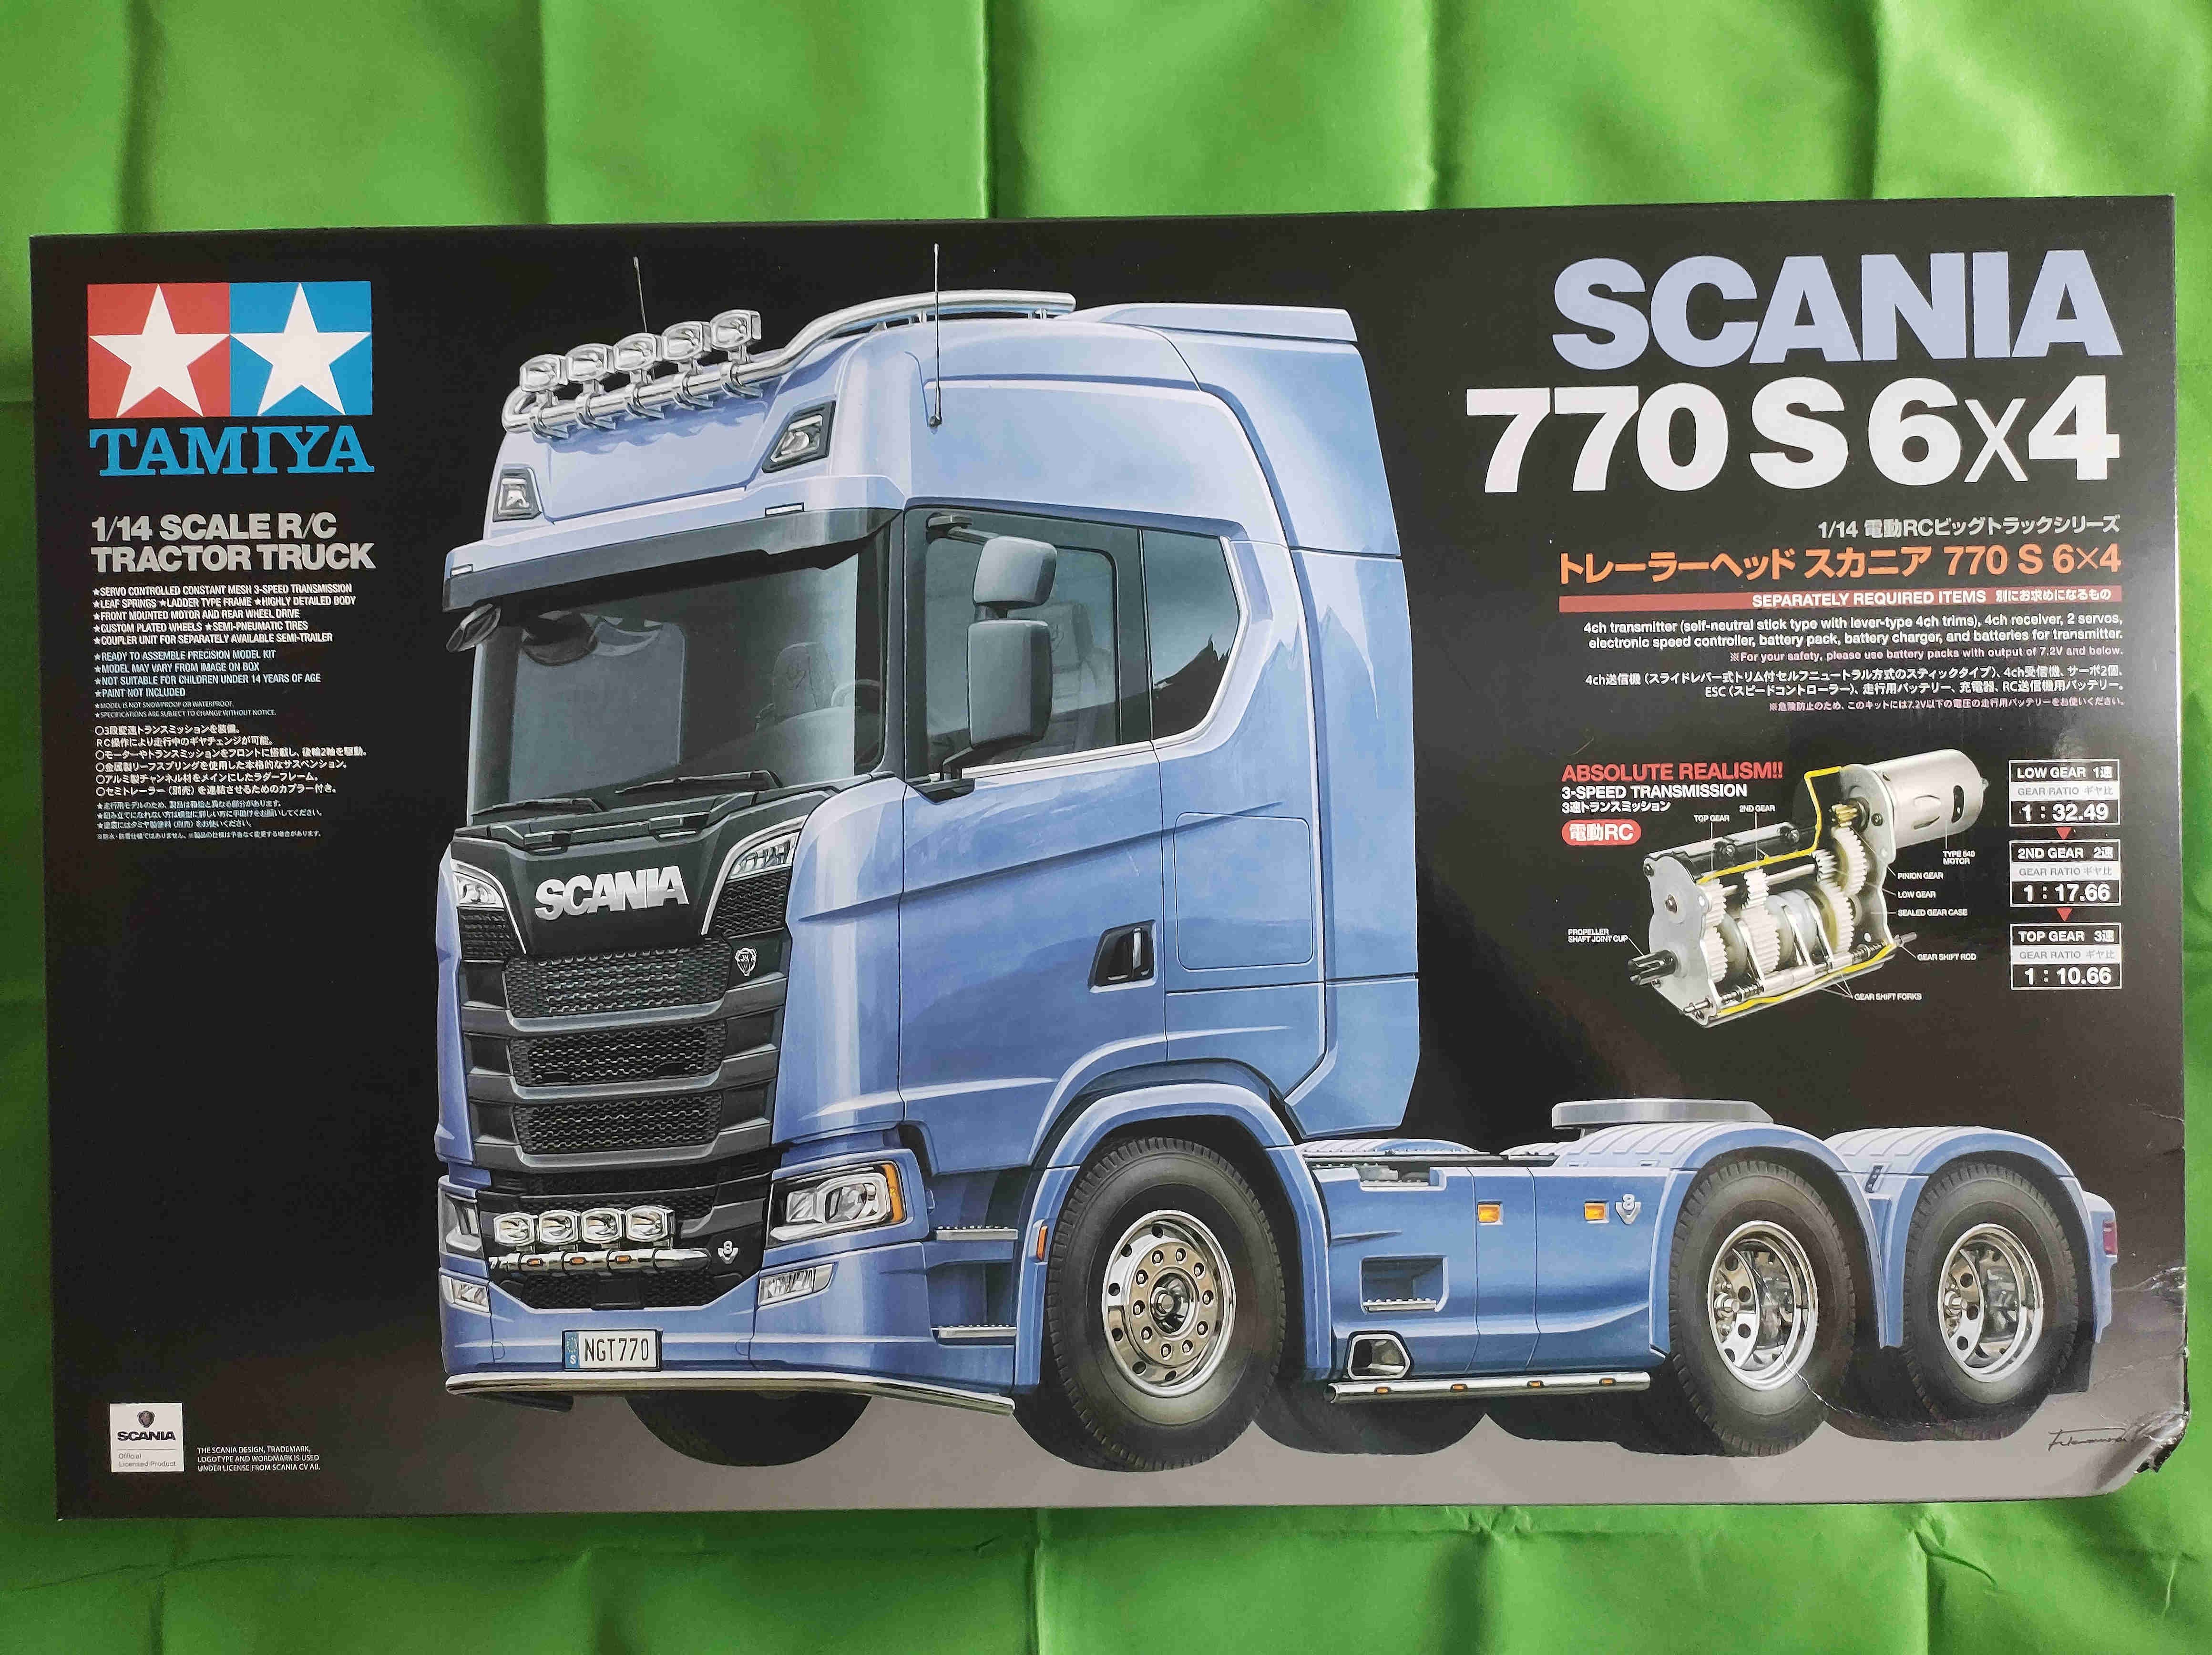
Take a look at the box, on the RH side it tells you what additional items you will need or may want to add.
opening the box reveals this.
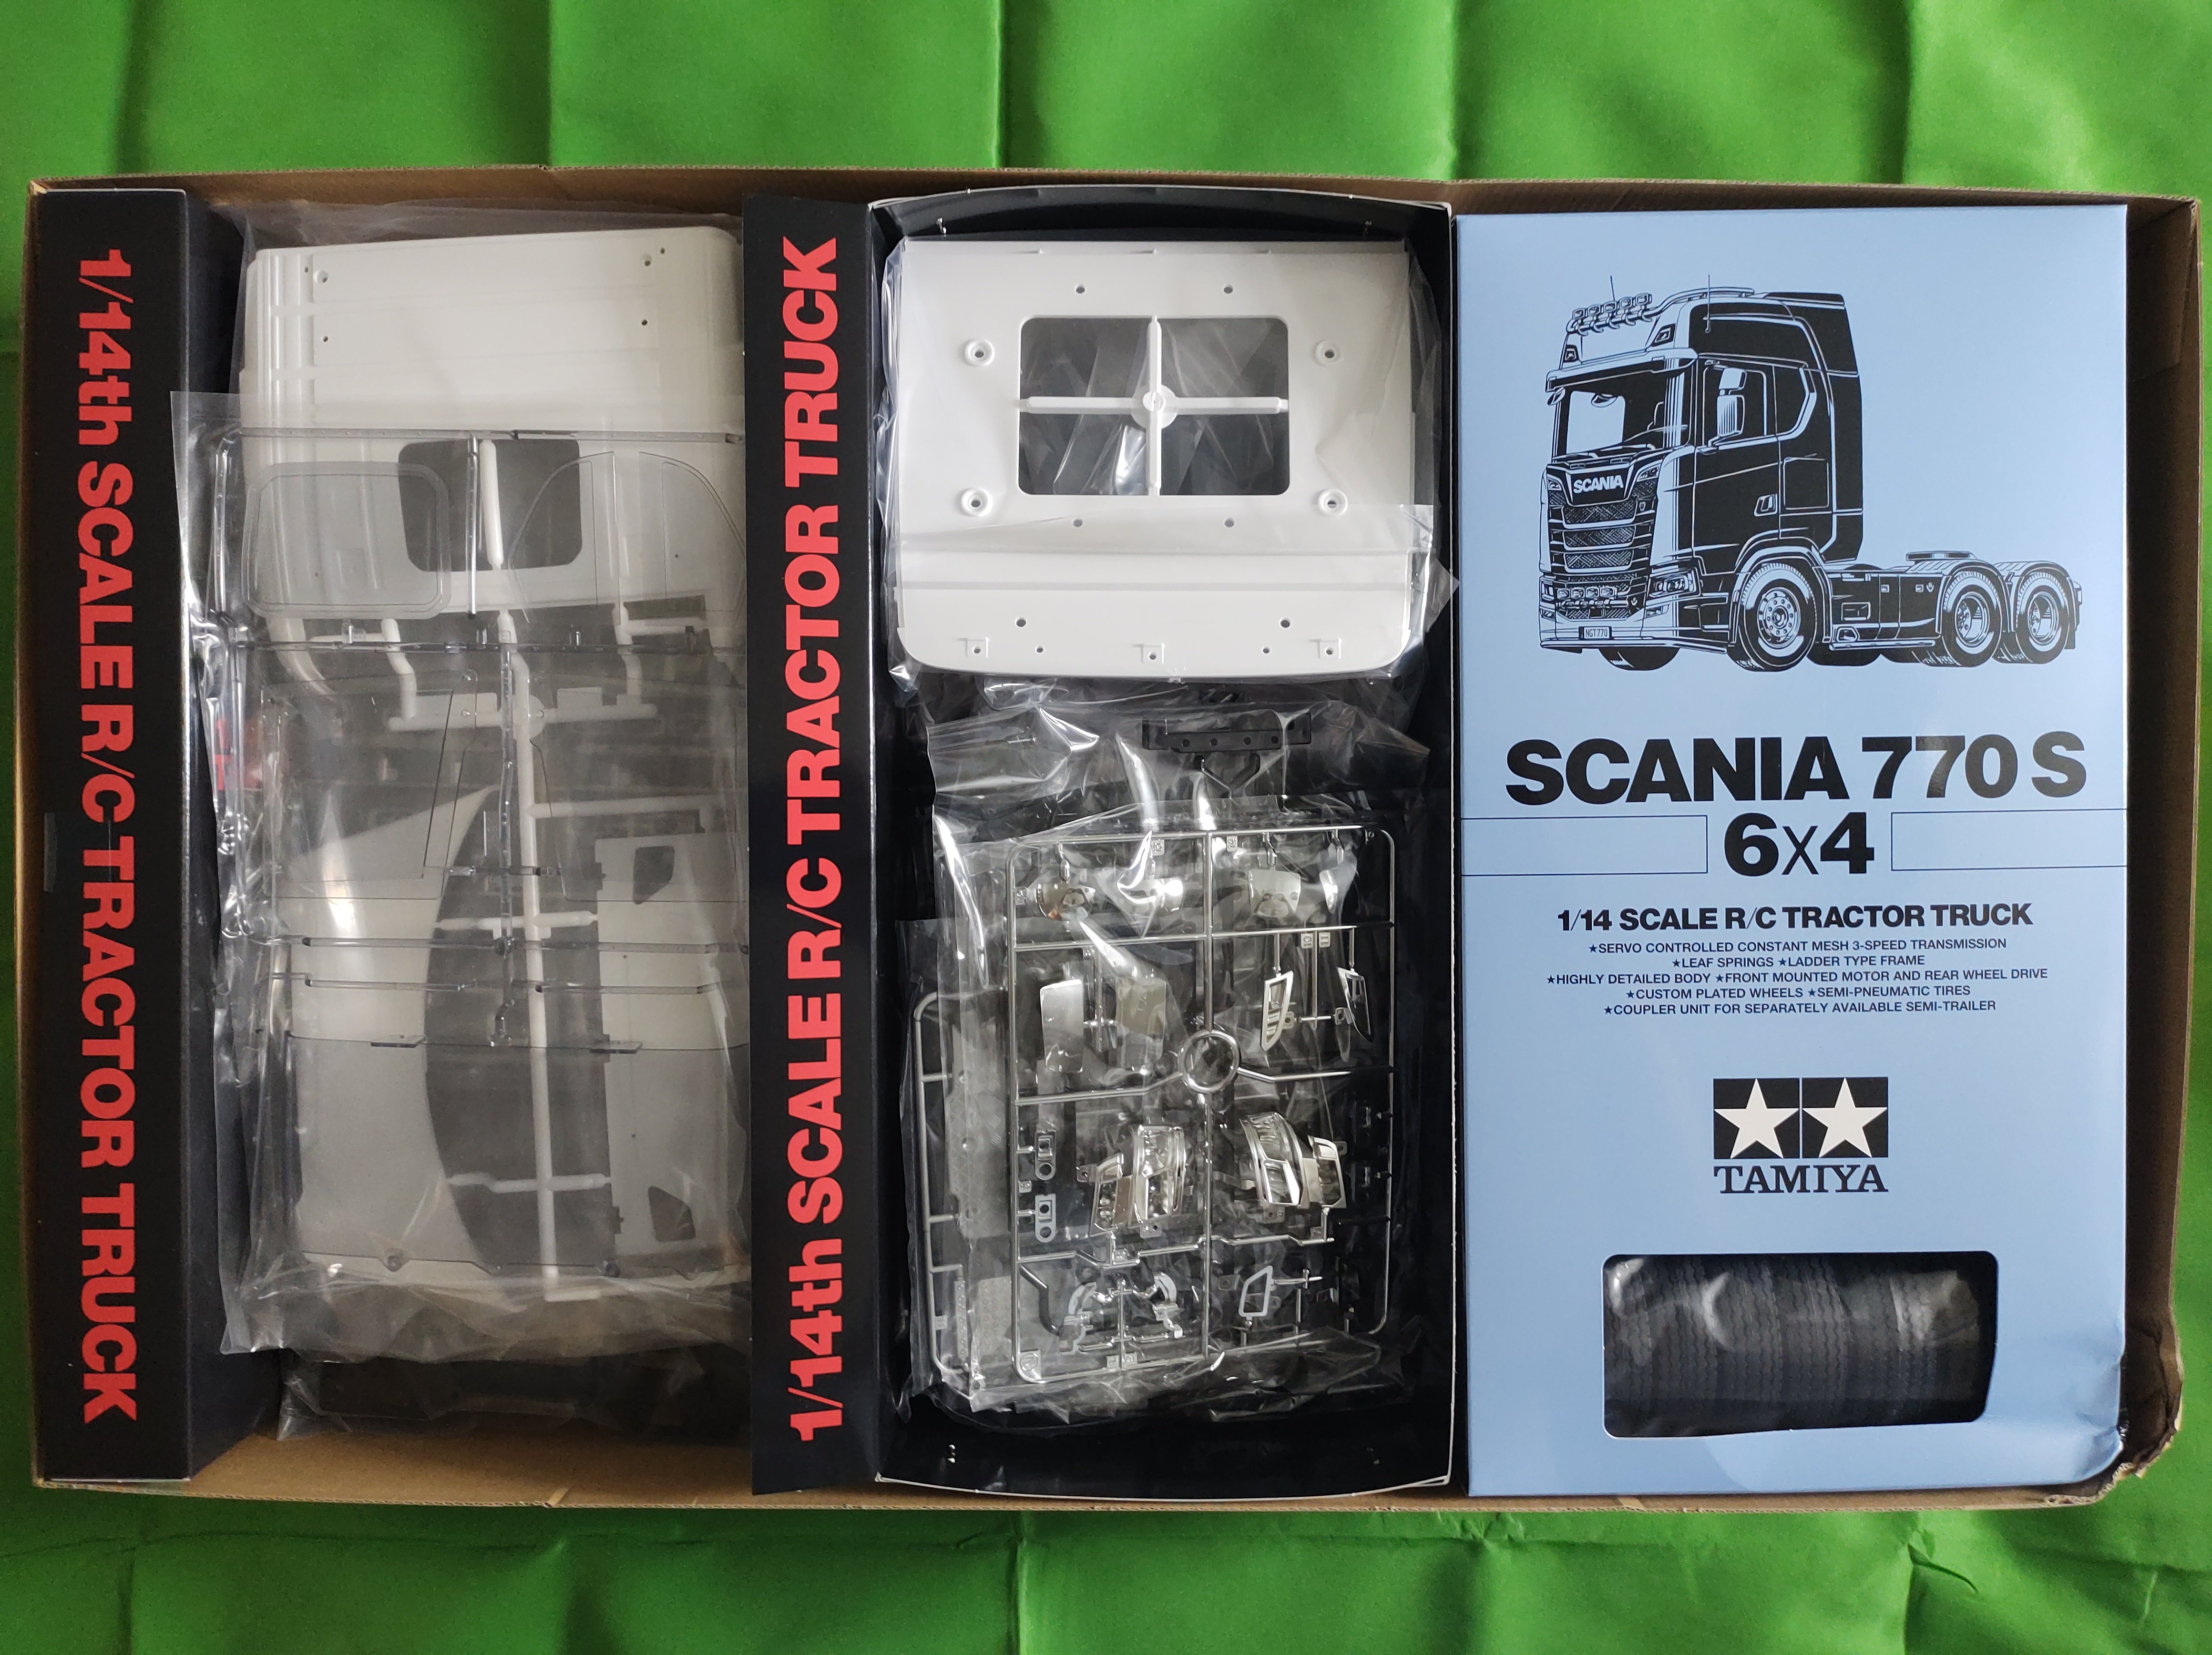
We will deal with the two open sections first, they contain most of the plastic parts


As you can see there are lots. these are the chassis cross members, parts for the cab and plastic parts for the gearbox.
There are two more boxes


The first contains tyres, wheels and hardware. The hardware provides all the metal parts and screws that are required.


The second contains more plastic parts including gearbox gears, rear mudguards and light lenses.
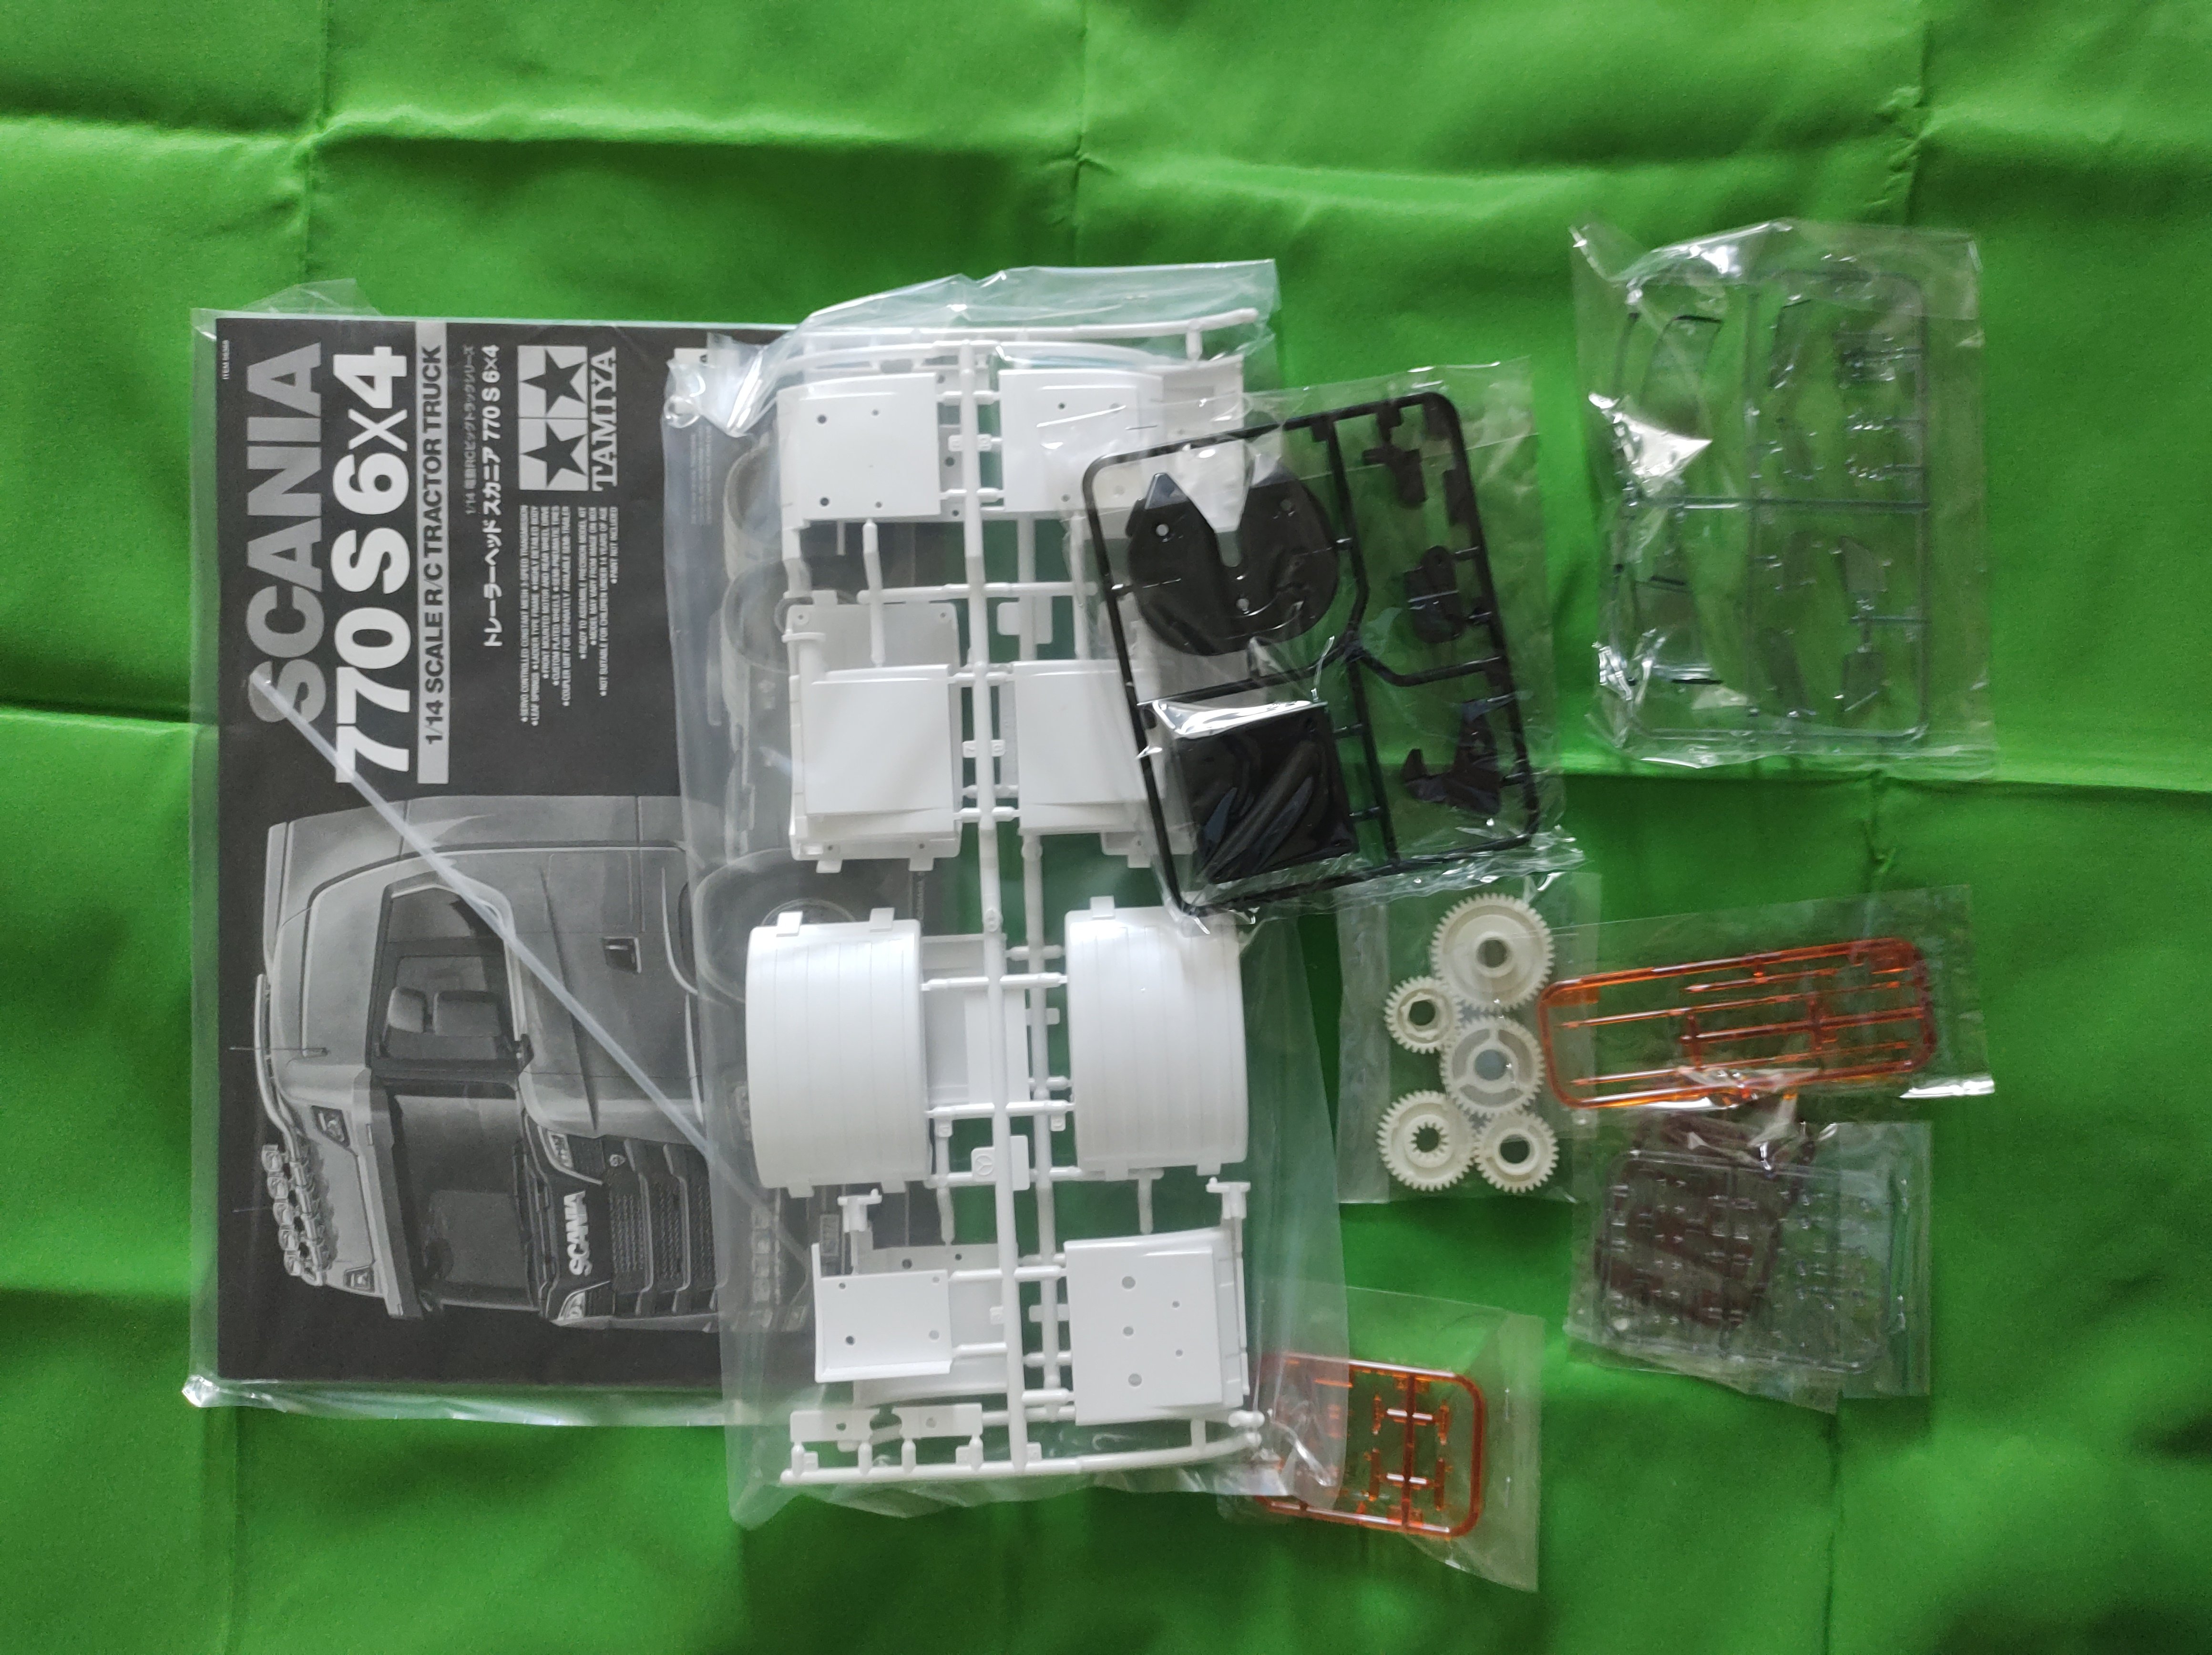
The manual and the chassis side rails are tucked in the bottom of the large box.
This all looks pretty daunting but it really isnt. All you have to do is follow the manual and that is generally pictorial with short instructions.
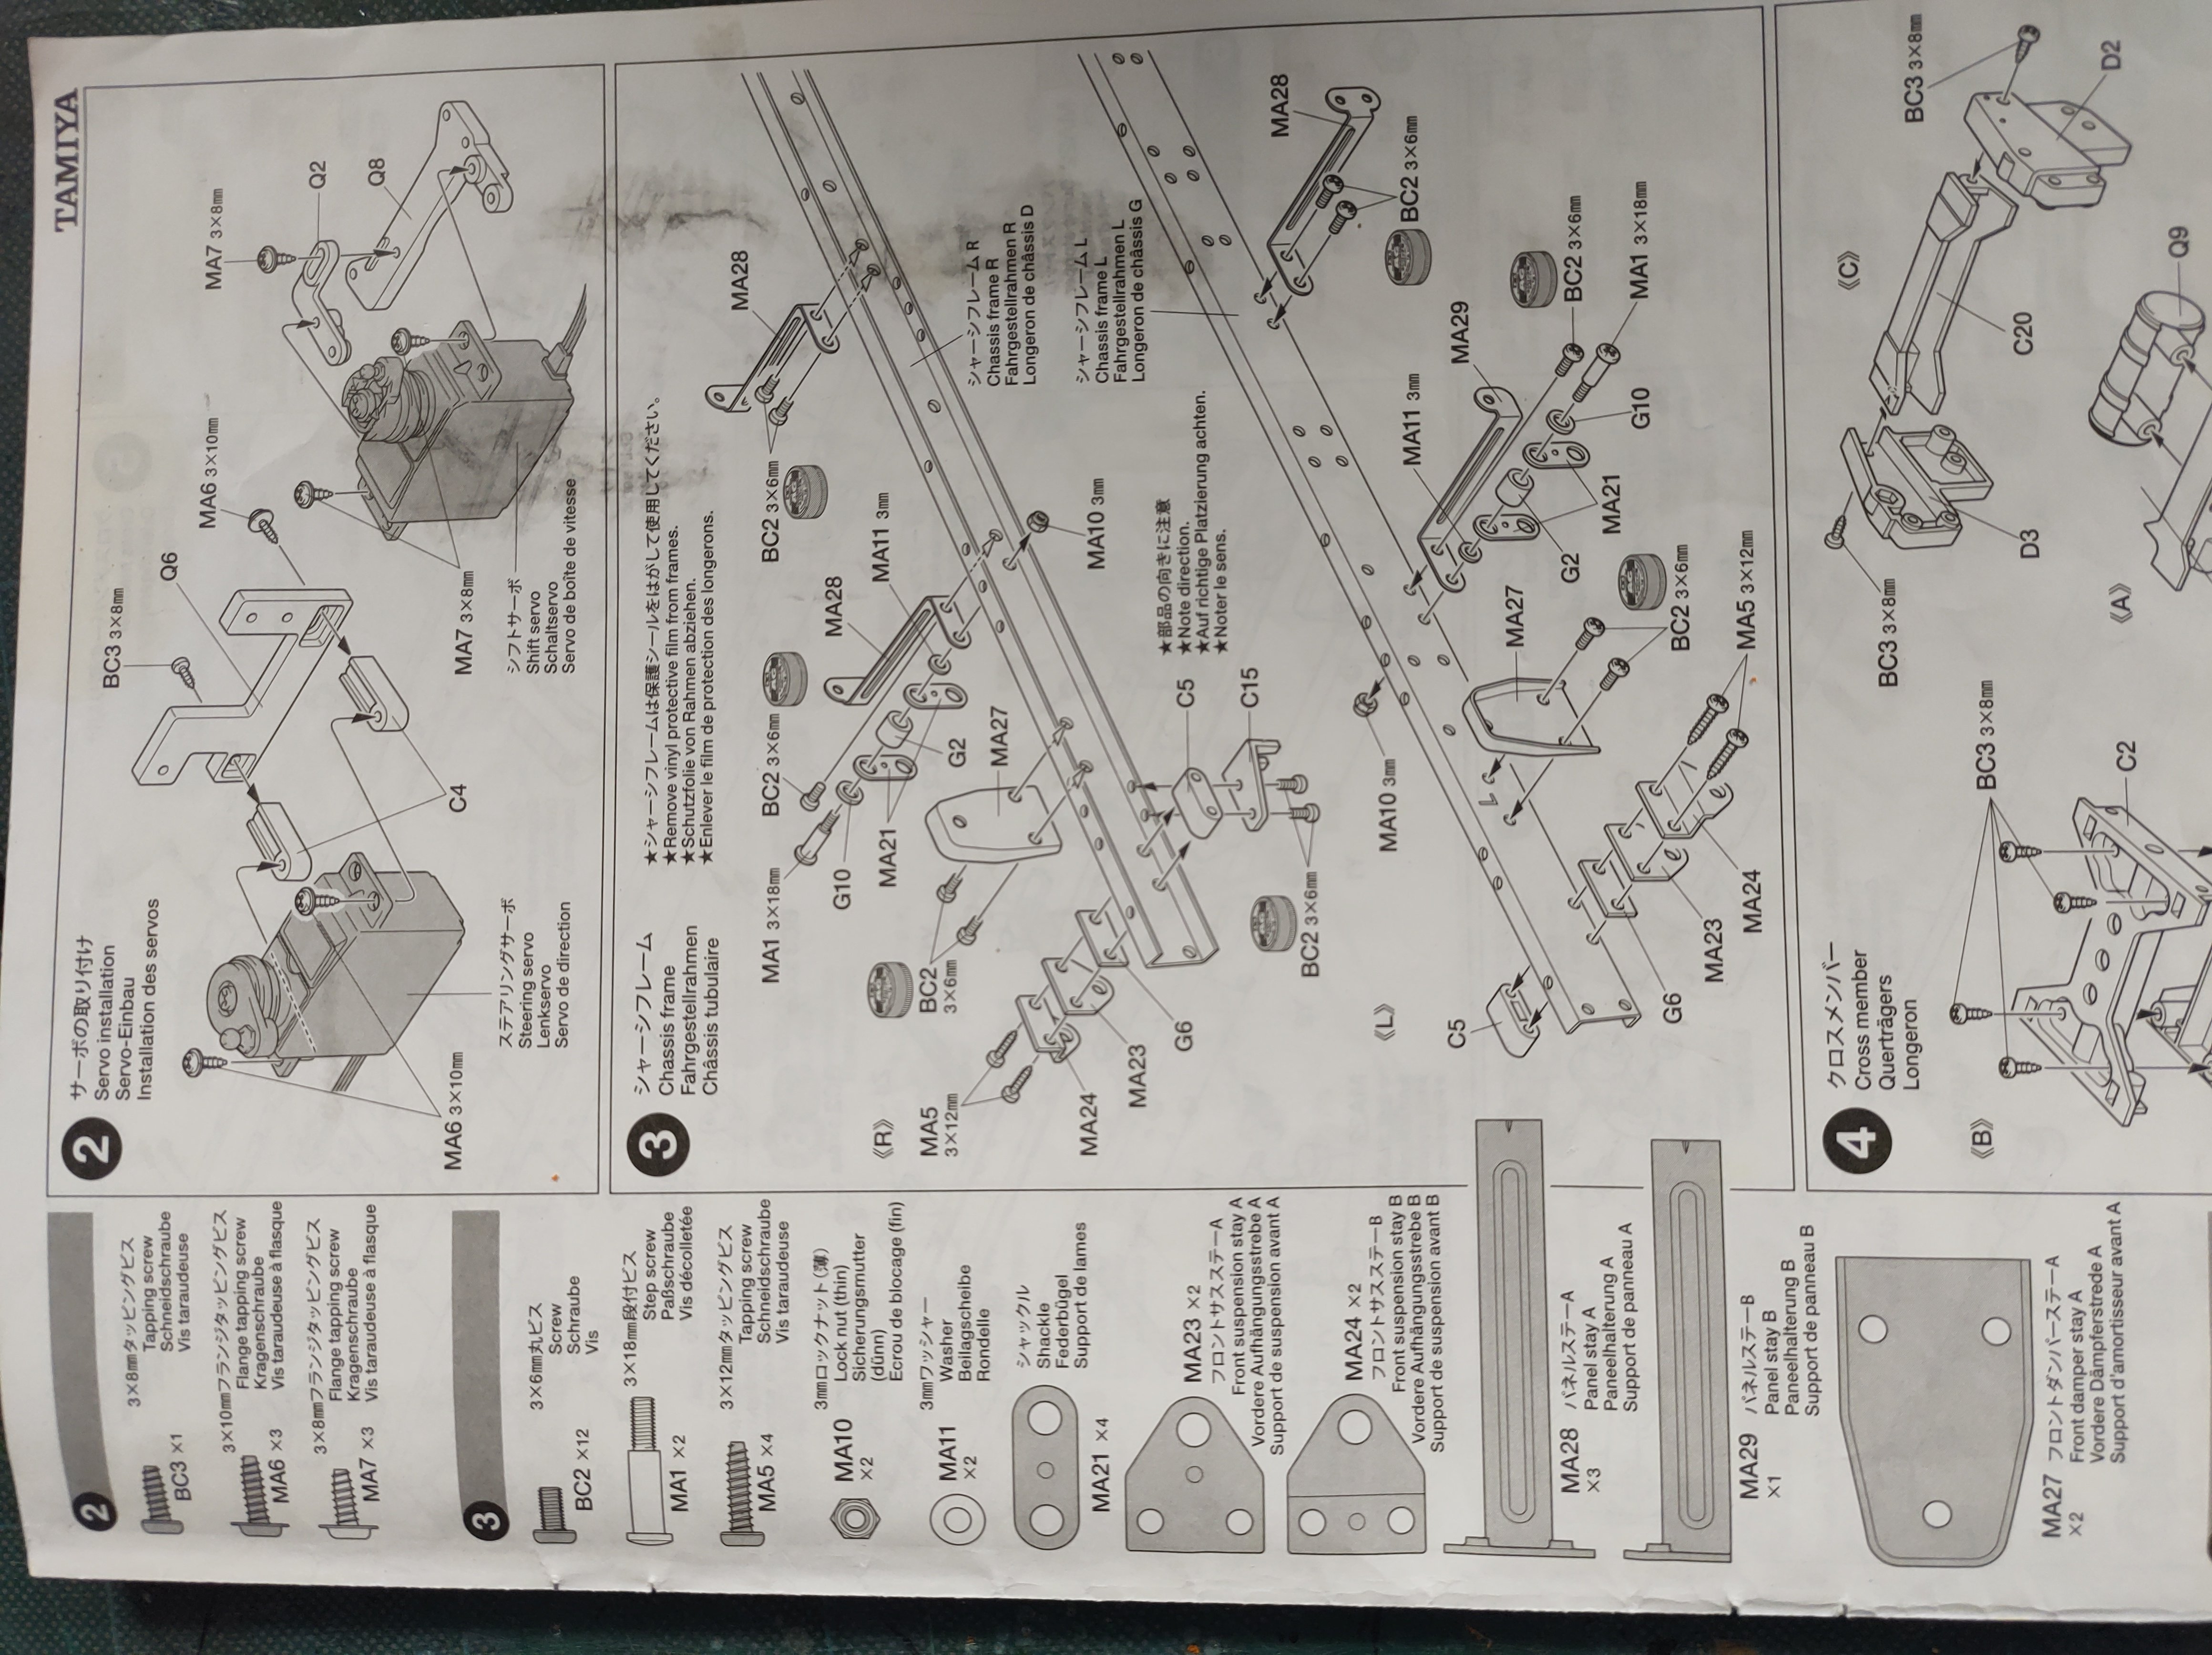
Here is a picture of one of the early pages in the manual. the pages before this generally tell you what you will need to complete the kit. Servos, battery and radio. From there on it follows this format. You can see in the left column there are parts details. These are for the metal parts that are in the parts bags plastic parts are identified by the sprue and then part number E.G C5. All the screws are identified and the images are exact scale so if the screw fits over the image that is the one to use.
If you have never spray painted before that may be the biggest problem. I think that choosing a livery is probably the next biggest problem. That said a bit of practice and a few decals will see you through.
The manual gives a list of tools that you may or will need for the build. Two crosshead screwdrivers, Tamiya's own or pozidrive. a sharp modelling knife. Small longnose pliers, i recommend that you buy a decent pair as the cheap ones are all rather thick and clunky). Side cutters ( I use fine ones as used for electronics but the cheaper flat steel ones.) Scissors ( I have never used, cutting the decals out I use a scalpel) . Finally a pair of tweezers, not essential but helpful in picking up small parts.
Most kits have parts that have to be glued. Plastic cement is widely available, and any will work. Tamiya recommend instant cement. I would not use it as it will cloud clear plastics.
That's it for now happy building.